To prepare your car for an MOT, check its lights, tyres, windscreen washers, wipers, seatbelts and number plates, then arrange repairs for any faults you find. Start a week or two before the appointment so you have time to deal with problems.
These checks can help prevent avoidable failures, but they cannot guarantee a pass. Braking performance, structural corrosion and many suspension defects need a proper inspection.
This guide covers ordinary passenger cars tested in England, Scotland and Wales. Northern Ireland has separate arrangements, where private cars generally first need testing at four years old; check nidirect’s current guidance, including any applicable exemptions.
Check the Due Date and Last Year’s Advisories
Most cars in Great Britain need their first MOT by the third anniversary of registration, then annually, unless an exemption applies.
You can have the test up to one month minus a day before the existing certificate expires and retain the same renewal date. The rule concerns when the test takes place, rather than when you book it. GOV.UK explains the timing and exceptions.
Before booking, check your car’s MOT history. Look at previous advisories as well as the expiry date. A tyre or suspension component that was deteriorating last year may now need attention.
An advisory does not automatically mean the part needs replacing. Have its present condition assessed instead of assuming either that it is fine or that replacement is unavoidable.
Work Around the Car and Test Its Lights
Switch on the exterior lights and check them systematically. Ask someone to watch the brake lights while you press the pedal, with the car safely parked.
Check dipped and main beam, front and rear position lights, indicators, hazards, brake lights and number plate illumination. Check the fog lights and daytime running lights fitted to your car too, although MOT requirements depend on the lamp and vehicle’s age.
A working bulb does not prove the lighting will pass: aim, colour, condition and security can also matter. If you have changed bulbs or headlamp units, check the applicable requirements rather than assuming a brighter replacement is suitable. The DVSA lighting manual sets out the inspection rules.
Inspect All Four Tyres
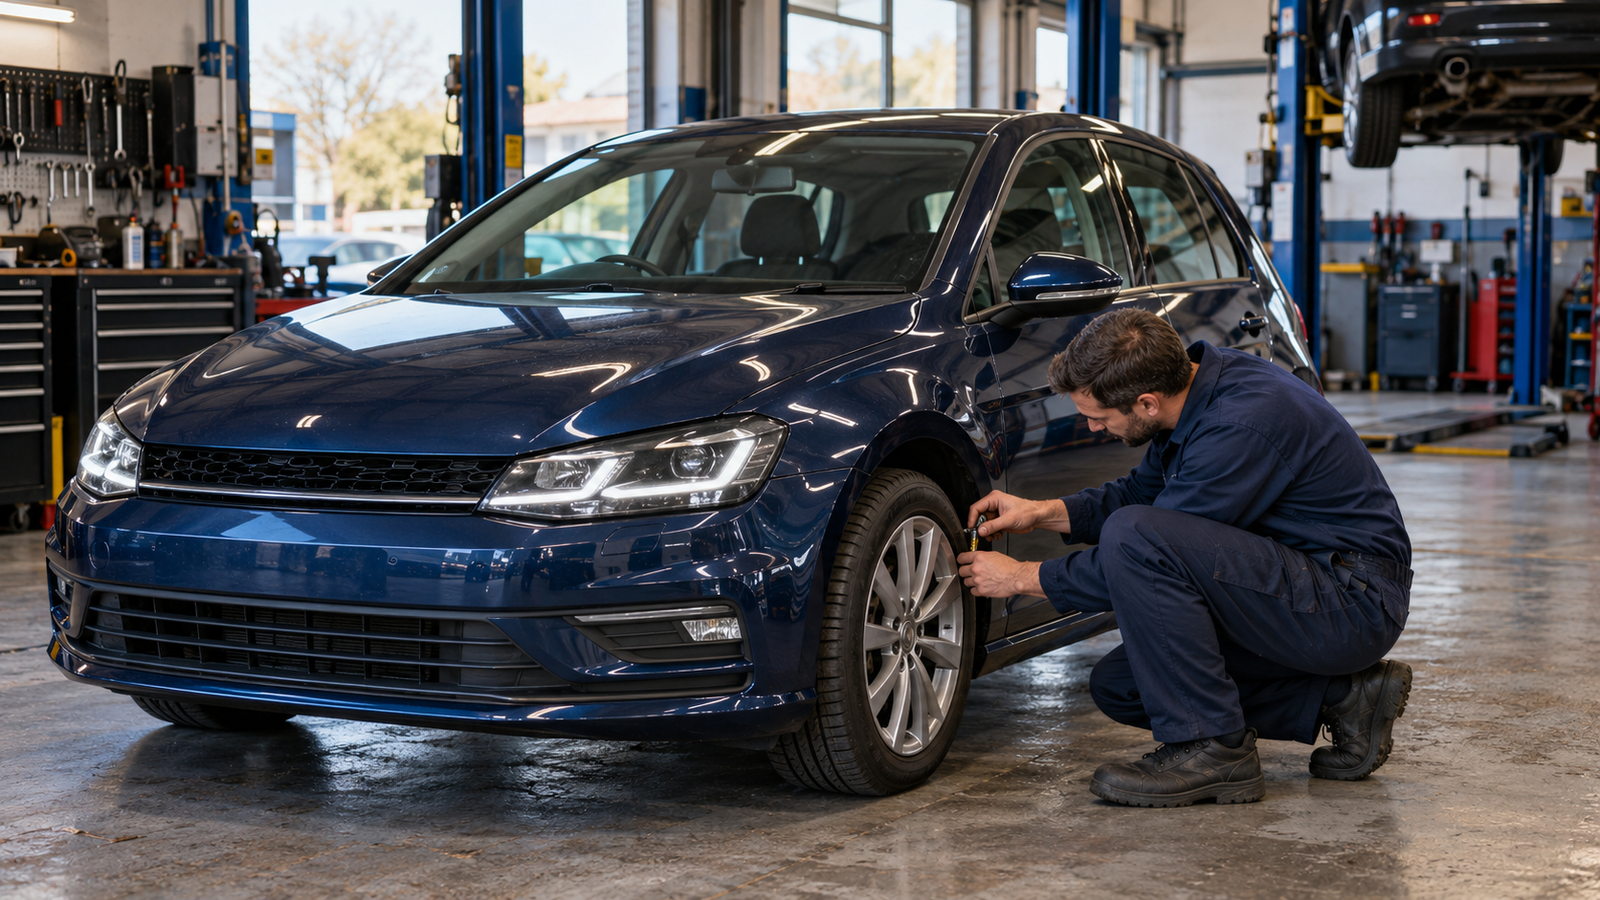
For an ordinary car, the minimum tread depth is 1.6mm in the primary grooves across the central three-quarters of the tread’s width, around the entire circumference. Checking one convenient point is not enough.
Use a tread-depth gauge at several positions and inspect accessible inner edges as well as the outer tread. Do not crawl beneath a car supported only by a jack.
Look for bulges, exposed cords, significant cuts and other damage. Check pressures against the vehicle’s guidance for the load carried, and have unusual wear investigated.
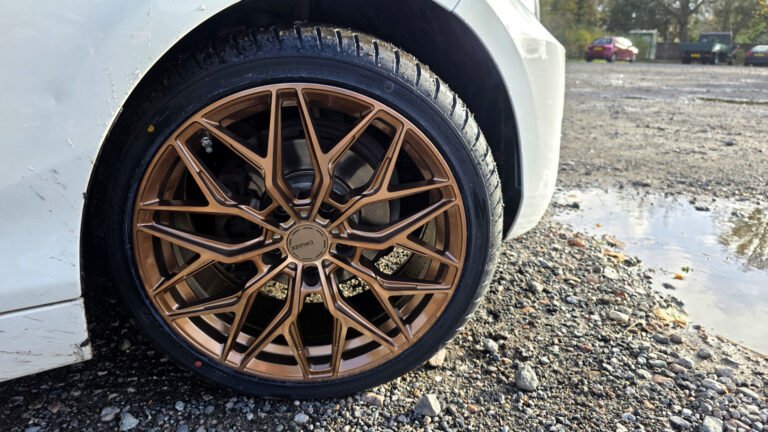
Tyres on the same axle must meet the relevant size and construction requirements. That does not mean every car needs identical front and rear sizes: some have an approved staggered arrangement. If wheels or tyre sizes have changed, confirm suitability rather than treating the MOT as a fitment approval. See the DVSA tyre inspection rules.
Check the Windscreen, Wipers and Washers
Top up the screenwash and operate the washers. They need to supply enough fluid for the wipers to clear the windscreen effectively. Replace blades that are damaged or leave areas uncleared.
The windscreen damage rule is more specific than a blanket 40mm limit:
| Area | Damage size considered during inspection |
|---|---|
| Zone A: a 290mm-wide strip centred on the steering wheel, within the wiper-swept area | More than 10mm in diameter |
| The rest of the wiper-swept area | More than 40mm in diameter |
The tester must also consider the effect on visibility: the manual says failure for damage is justified only where it significantly affects the driver’s view of the road. These measurements are not a reason to ignore a spreading crack or obstructed view. Check the DVSA visibility guidance.
Remove unnecessary objects blocking your view and check that mirrors are secure and usable.
Investigate Brake Problems Before the Appointment
Pay attention to changes during normal driving, including a soft pedal, reduced braking, pulling to one side or persistent grinding. Do not carry out emergency braking manoeuvres simply to prepare for an MOT.
Where the handbook allows an owner check, inspect the brake fluid level through the reservoir. Low fluid needs investigation; topping it up without finding the cause can conceal a problem.
Not every low reading is classified identically. The DVSA brake manual distinguishes between fluid below the minimum mark, significantly below it and no fluid visible.
If braking is impaired, stop safely and arrange assistance. Our guide to a grinding noise when braking explains possible causes, but a roadworthy brake system needs more than a quiet pedal application on the driveway.
Check Seatbelts, Seats and the Horn
Inspect accessible seatbelt webbing for cuts or fraying. Check that buckles fasten and release, and that belts retract without becoming trapped. Make the belts available for inspection rather than leaving them buried beneath luggage.
Check that seats feel secure and the driver’s seat adjustment locks properly. Test the horn briefly in an appropriate place.
These are useful preliminary checks, not a substitute for examining belt anchorages and restraint systems during the test.
Understand What Dashboard Warnings Mean
A statement that any illuminated warning light causes an MOT failure is too broad. The system, vehicle age and nature of the warning matter.
An SRS warning indicating a restraint-system malfunction is a major defect, but a lamp showing that the passenger airbag has been deliberately switched off is not itself a defect. The DVSA restraint-system guidance explains that distinction.
ABS faults and engine malfunction lamps can also affect the result under the applicable rules. A routine service reminder is not the same as an engine malfunction indicator.
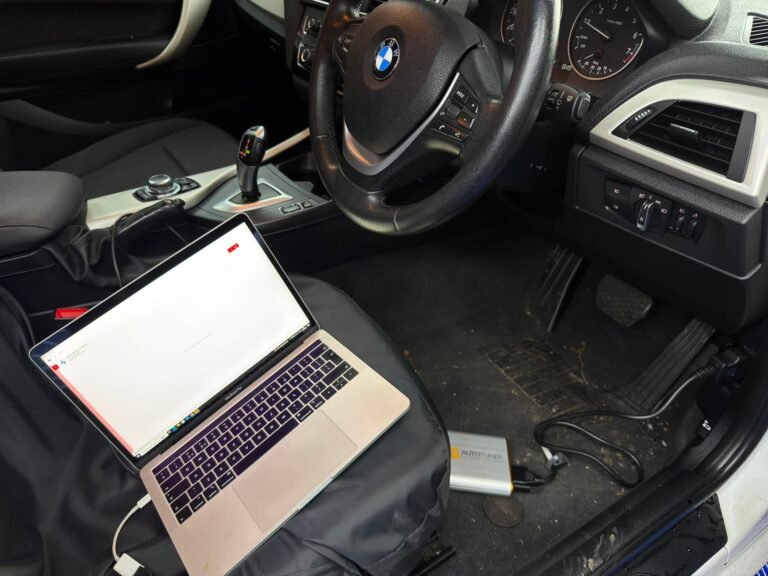
Check the handbook and arrange diagnosis of persistent fault warnings. Clearing a warning immediately before the appointment does not repair the underlying problem.
Check for Leaks, Smoke and Exhaust Problems
For petrol and diesel cars, investigate persistent smoke, fuel smells, exhaust leaks or unusually loud exhaust noise before the test. Never run the engine in an enclosed garage.
The inspection and emissions requirements depend on the vehicle’s age and fuel type. Battery-electric cars have no tailpipe emissions test, while other powertrains have their own applicable requirements.
An oil change or fuel additive is not a guaranteed emissions remedy. Missing or obviously modified emissions-control equipment can also cause failure where the rules apply. The DVSA emissions manual sets out those requirements.
Check engine oil and other owner-serviceable fluid levels as instructed in the handbook. Tell the garage about suspected mechanical problems before testing rather than trying to mask them.
Note Steering and Suspension Symptoms
Knocking over bumps, unusual steering play, uneven ride height or a change in handling deserve inspection. Those symptoms can have several causes, and a visual check at home cannot establish that the suspension is sound.
Arrange a garage inspection if anything has changed. Do not wait for the MOT if steering control or stability is affected.
Make the Car Accessible for Testing
Clean the number plates and check that their characters are readable and correctly displayed. Decorative spacing is not acceptable simply because the registration can still be recognised.
Remove clutter that prevents access to seats, belts or inspection areas. Make sure the bonnet, doors and boot can be opened, and provide any keys needed for inspection.
A spotless car does not earn a pass. However, a tester can refuse a vehicle if excessive dirt or obstructing items prevent proper examination. There must also be enough fuel and oil for the necessary testing. See the official grounds for refusing an MOT.
Your Final Pre-MOT Checklist
- Confirm the appointment, expiry date and previous advisories.
- Check lights, tyres, washers, wipers and mirrors.
- Make seatbelts accessible and check the horn.
- Investigate braking, steering and warning-light faults.
- Clean the plates and remove inspection-obstructing clutter.
- Check fluid levels and provide necessary keys.
Can You Drive After an MOT Failure?
If the existing MOT is still valid and the new test records no dangerous defects, you can take the car away only if it remains roadworthy. A valid certificate does not permit driving an unsafe vehicle.
If a dangerous defect is recorded, do not drive until it has been repaired. GOV.UK explains the conditions for driving after a failed test.
Once an MOT has expired, ordinary road use is prohibited. Limited exceptions cover journeys to a pre-arranged MOT or to and from repairs, but those exceptions do not authorise driving an unroadworthy car. Arrange recovery where necessary.
Is a Service Necessary Before an MOT?
A service is not a prerequisite for the test. If servicing is due, combining the appointments may be convenient and can reveal work that needs attention, but servicing and MOT testing have different purposes.
The MOT is not a comprehensive mechanical assessment and does not cover the general condition of the engine, clutch or gearbox. A pass also cannot guarantee future reliability. DVSA’s overview of the parts tested explains the distinction.
Book early enough to allow for repairs, deal with known faults and keep maintaining the car throughout the year. Preparation is most useful when it finds problems in time to put them right.